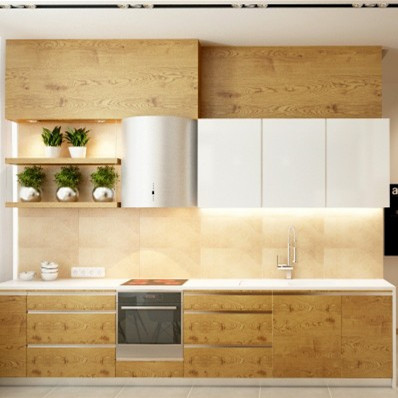
How to install PVC decorative film?
How to install PVC decorative film?
Substrate adjustment
1. Substrate – Be sure to grind the flat page to a fine and thoroughly touch and insert it thoroughly. If there is oil stains, clean it with solvent.
The temperature of homework is 15 ° C to 20 ° C, and in principle, construction can be carried out at 5 ° C.
Plane construction
1. The substrate treatment is as described above.
2. Determination of position: The position to be placed first is fixed with leftover materials.
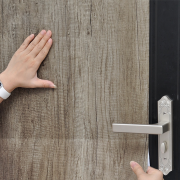
3. Before pasting, peel off the paper by about 10 centimeters, and use a soft cutting blade to gently press the air out from above.
4. If there are small bubbles, the blade can be used to puncture them and then the air can be pushed out with a cutting blade. It is best to wrap the cutting blade with a soft and damp cloth to avoid damaging the surface.
Right angle construction
1. Please apply primer to the substrate and dry it thoroughly before smoothing it out
When the flat part is constructed to the right angle part as described above. According to the following figure, the construction can be carried out by gently pressing in the order of the top, or by heating and pressing with an electric hair dryer. At this point, gloves can be worn or a soft cloth can be gently pressed with fingers to achieve good results.
4、 Double right angle construction. The substrate treatment is the same as before.
2. Paste: First, attach A and fold it onto side B, then fold side B onto the quilt and cut off any excess film (note that if the dot printing part of A and B overlaps, it will protrude here. For aesthetic reasons, it is not necessary to fold A to side B).
Construction method for pentagonal and cubic curved surfaces
1. The corners of the substrate should be thoroughly coated with primer (3-4 times), dried, and ground with # 400 sandpaper until smooth and smooth,
2. Use an electric hair dryer to fully heat the corners. When the Polaroid film has appropriate softness, pull it down from the top of Figure 12A and press it down in sequence B’C’D’E ‘.
3. Please pay attention to slowly pulling from the top in the order of Ai B’C’D’E (less than one centimeter at a time), press with your fingers, then move to B “C’D’E and repeat from A to the bottom. Do not be impatient and pull to the bottom at once, which will cause wrinkles and make it difficult to handle.
4. When heating and pulling downwards, it is advisable to extend your fingers deep inside (do not only pull towards the edge; pull and press on one side to achieve good construction results).


